AUTOMATIC1111
警告
本教程由社区贡献,不受 Open WebUI 团队支持。它仅作为如何针对您特定使用场景自定义 Open WebUI 的演示。想要贡献?请查看贡献教程。
Open WebUI 支持通过 AUTOMATIC1111 API 进行图像生成。以下是开始使用的步骤:
初始设置
- 确保您已安装 AUTOMATIC1111。
- 启动 AUTOMATIC1111 时加上额外的参数以启用 API 访问权限:
/webui.sh --api --listen- 对于已经预设了环境变量的 WebUI Docker 安装方式,请使用以下命令:
docker run -d -p 3000:8080 --add-host=host.docker.internal:host-gateway -e AUTOMATIC1111_BASE_URL=http://host.docker.internal:7860/ -e ENABLE_IMAGE_GENERATION=True -v open-webui:/app/backend/data --name open-webui --restart always ghcr.io/open-webui/open-webui:main配置 Open WebUI 对接 AUTOMATIC1111
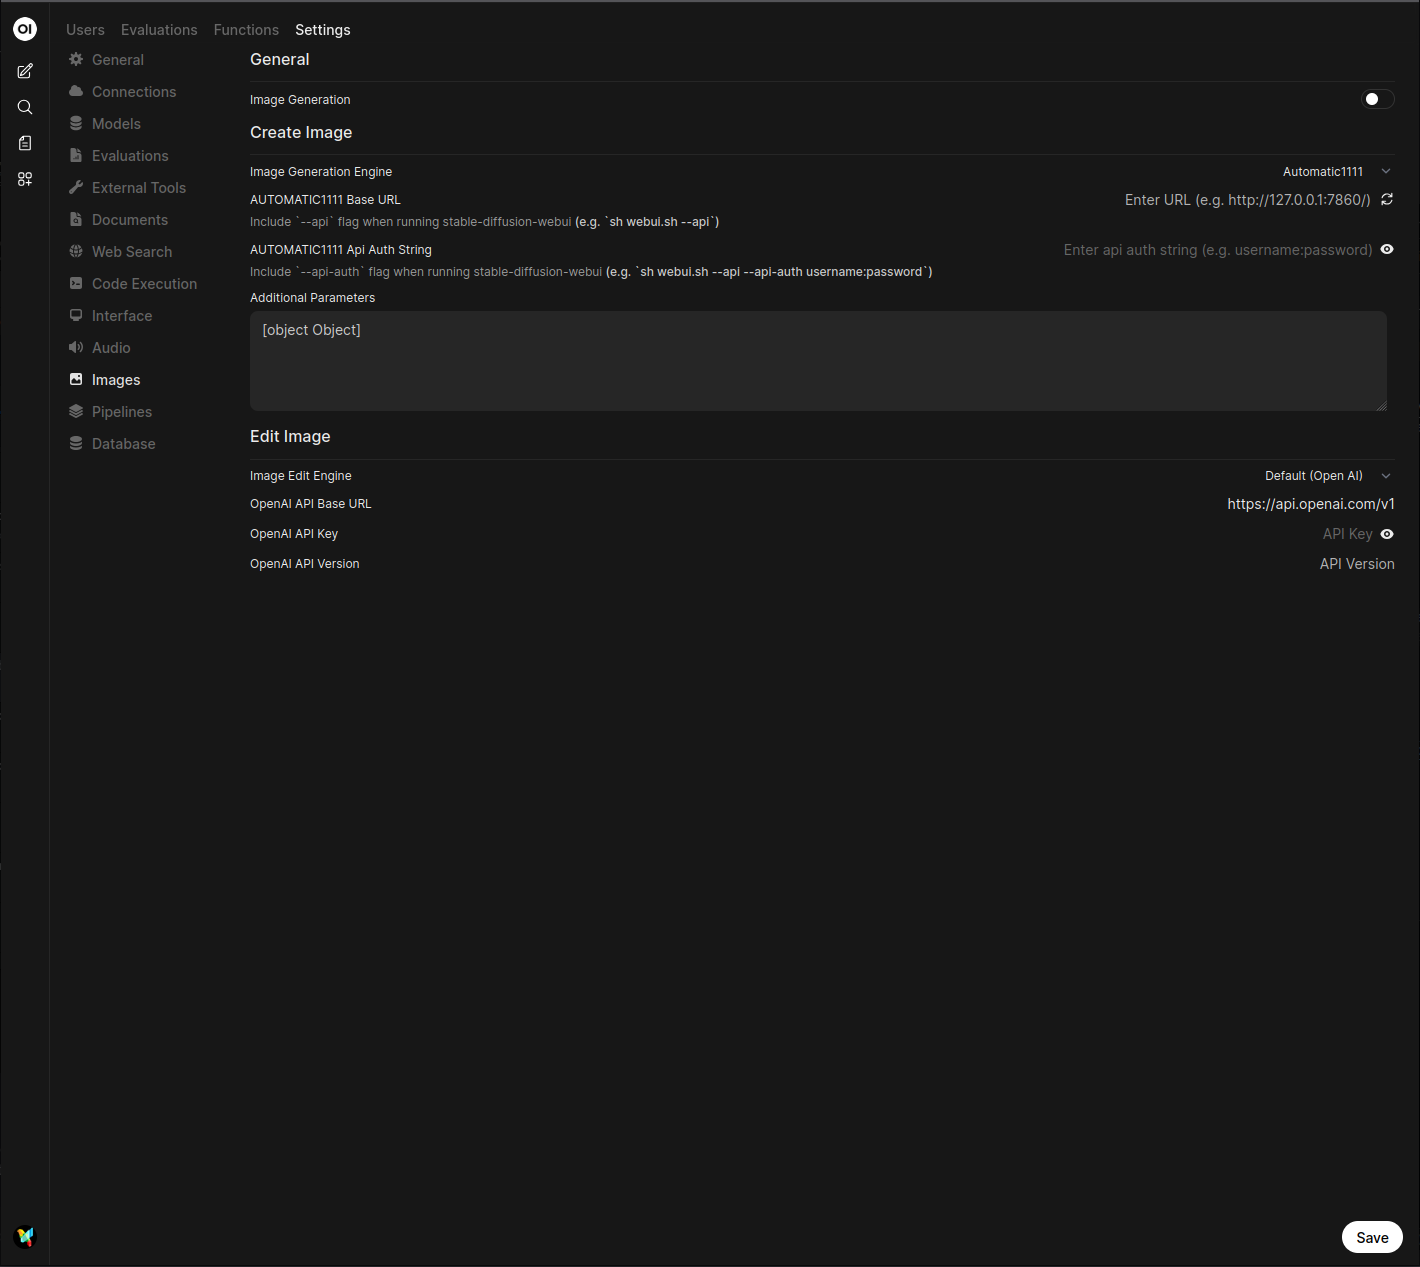
- 在 Open WebUI 中,导航到 Admin Panel > Settings > Images(管理员面板 > 设置 > 图像)菜单。
- 将
Image Generation Engine(图像生成引擎)字段设置为Default (Automatic1111)。 - 在 API URL 字段中,输入可以访问 AUTOMATIC1111 API 的地址:
http://<your_automatic1111_address>:7860/如果您在同一台主机上运行 Open WebUI 的 Docker 安装和 AUTOMATIC1111,请使用 http://host.docker.internal:7860/ 作为您的地址。